How to Add a Printer in OrcaSlicer (Built-in, Custom and Network)
Step-by-step: add a built-in or custom printer in OrcaSlicer and connect it over the network to Klipper, OctoPrint or Bambu Lab printers.




Short answer: To add a printer in OrcaSlicer, click the gear icon next to the Printer section, search for your model, tick it and confirm. If it is missing, choose "Create 3D printer" from the printer dropdown and enter its nozzle and bed size. To print over the network, click the Wi-Fi button beside the printer name.
This guide covers all three parts of adding a printer in OrcaSlicer: picking a built-in profile, creating a custom printer when your model is missing, and connecting OrcaSlicer to the physical printer so you can send jobs without a USB stick. It ends with what changes when a team shares many printers.
OrcaSlicer is a free, open-source desktop slicer for Windows, macOS and Linux, available from its GitHub releases page. It began as a fork of Bambu Studio, which was built on PrusaSlicer, so the screens will look familiar if you have used either. Have these ready:
On first launch, OrcaSlicer runs a setup wizard: you pick your region, then your printer or printers, then the filaments you want to use, and you can install the Bambu Network plugin. If you skipped a printer there, add it later:
Built-in profiles are the safest choice because the printable area, G-code flavor and start G-code are already set for that machine. OrcaSlicer ships profiles for many brands, including Bambu Lab, Prusa, Creality and Voron, as well as Klipper-based printers.
If your printer is not in the list, or you have modified it (a larger bed, a different hotend), create your own profile:
The settings worth checking on a custom printer are:
Start with a small calibration print before a long job. OrcaSlicer includes built-in calibration tests such as flow rate, pressure advance, temperature and retraction, which help tune a new profile quickly.
Adding a profile only tells OrcaSlicer how to slice. To send the sliced file straight to the printer, add a physical connection:
http://192.168.1.100.Klipper printers: uploads from OrcaSlicer go through Moonraker's OctoPrint compatibility layer. Add an [octoprint_compat] section to moonraker.conf and restart Moonraker first. If Moonraker runs on a non-default port, add it to the address, for example http://192.168.1.100:7125. Our Moonraker config guide explains the file section by section.
Bambu Lab printers: OrcaSlicer includes Bambu Lab profiles and can send jobs either over the local network or through Bambu's network plugin, installed in the setup wizard. If you are choosing between the two slicers for Bambu machines, see OrcaSlicer vs Bambu Studio. For managing a group of them, see our Bambu Lab software page.
OrcaSlicer connection helper
Pick your printer's host and enter its address. You get the values to type into OrcaSlicer's physical printer dialog and a diagram of where the upload goes.

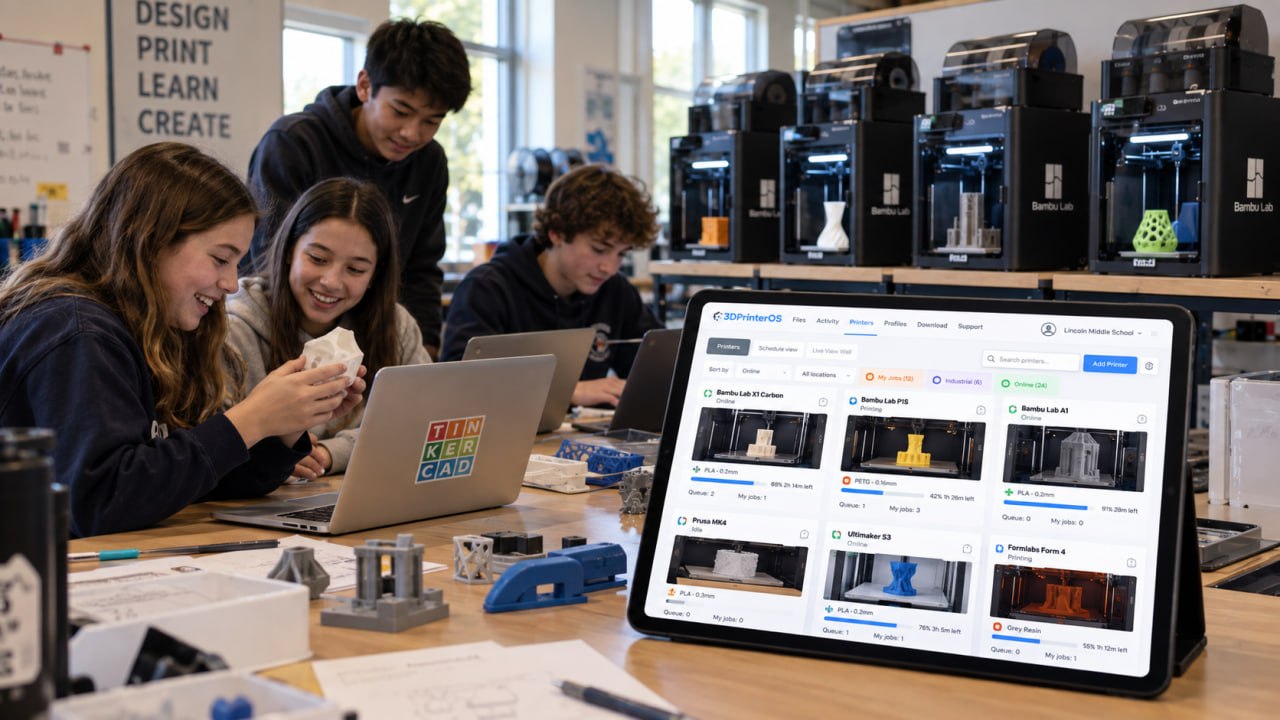
Each OrcaSlicer install keeps its own printer list and connections. That is fine for one person, but in a school lab, makerspace or print farm it means every user sets up every printer, and nobody sees who is printing where. A management layer fixes that: printers are added once, and users send jobs to shared queues with the right permissions.
3DPrinterOS is 3D printer management software that does this across brands. According to our OrcaSlicer comparison page, OrcaSlicer 2.4.0-beta and later include a 3DPrinterOS print host, so people who prefer OrcaSlicer on their desktop can keep using it. Users who do not want to install anything can slice in the browser with the online slicer. For larger groups of machines, see 3D printer farm management.
Click the gear icon next to the Printer section, search for your printer, tick it and confirm. It then appears in the Printer dropdown. If your model is not listed, choose "Create 3D printer" from that dropdown instead.
Open the Printer dropdown, choose "Create 3D printer", enter the nozzle size and bed dimensions, select OK, then choose filament and process presets and click Create. Check the printable area, print height and G-code flavor before printing.
Add an [octoprint_compat] section to moonraker.conf and restart Moonraker. In OrcaSlicer, click the Wi-Fi button next to the printer, set Host Type to Octo/Klipper, enter the printer's IP address and any text as the API key, then click Test.
Yes. OrcaSlicer includes Bambu Lab printer profiles and can send jobs over the local network or through Bambu's network plugin.
Yes. OrcaSlicer 2.4.0-beta and later include a 3DPrinterOS print host. Teams can also slice in the browser with the 3DPrinterOS cloud slicer and manage every printer, user and job from one dashboard.

Used by higher education, enterprises, and OEMs to manage printers, files, and users from a single, cloud-based platform

Control access, users, and print permissions by team or lab
“This close collaboration has enabled Koenigsegg to tailor the platform to their specific needs, resulting in an optimized and user-friendly system for managing their 3D printers.”

Team Leader
Koenigsegg Automotive AB
Book your personalized assessment now and get your free trial.