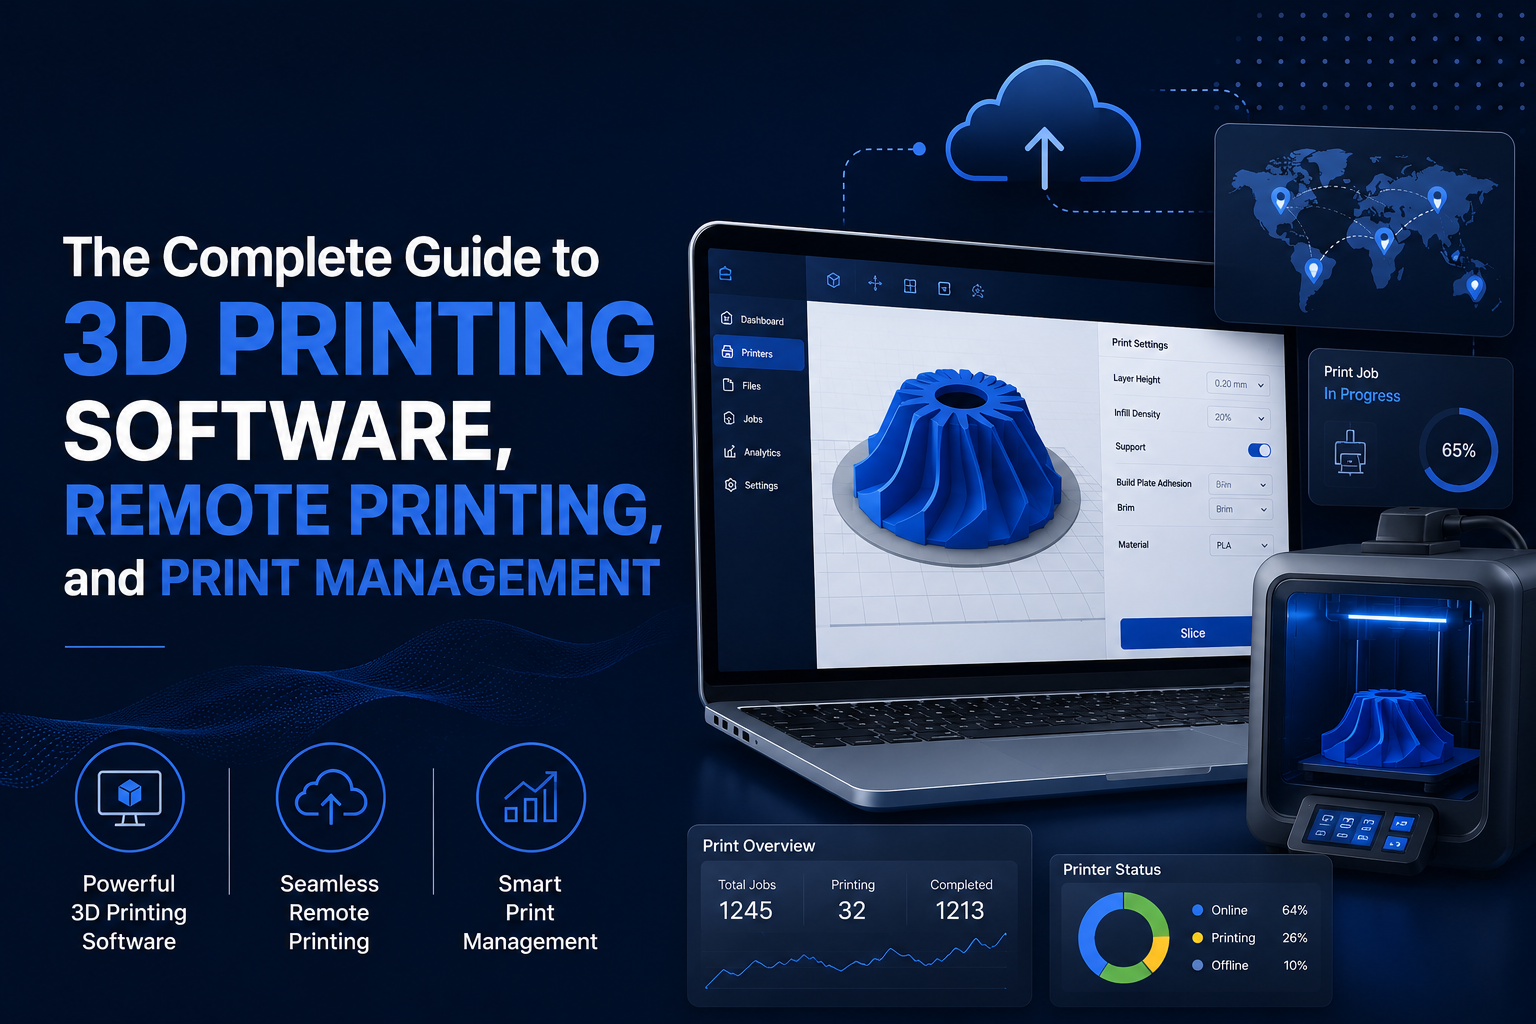
3D Printer Modeling Software for Team Workflows: From Design to a Controlled Print Queue
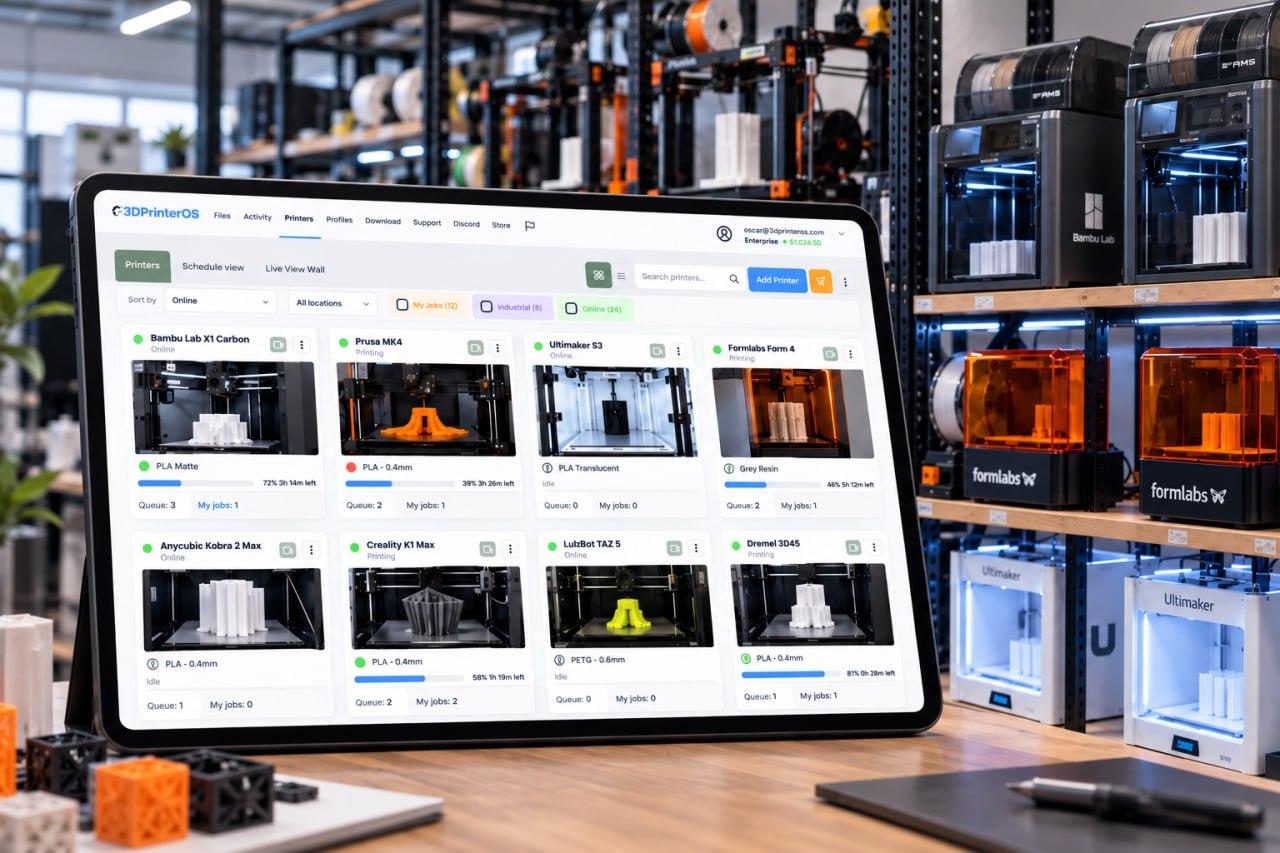


3D printer modeling software covers every application used to create, edit, repair, or prepare a model so a printer can build it. For one person at one printer, the choice of design tool is most of the story. For a shared lab or a multi-site fleet, it is not.
This guide explains where modeling fits in a team print workflow, how the main tool types compare, and how to standardize, approve, and version models across users and sites.
The key takeaway is that teams print well at scale when people keep the design tools they know and every file passes through one shared, controlled preparation layer before it reaches a printer.
How many failed prints in your lab started as a model nobody checked? When one person designs and prints alone, file quality is easy to track. When many users share a fleet across rooms or sites, it rarely is.
In shared printing environments, users choose their own design tools, but every file that enters the queue affects printer time, material spend, and the people waiting behind it. A model saved in inches instead of millimeters, or exported with holes in its mesh, can tie up a machine for hours before anyone notices.
The real problem is rarely the design tool itself. It is the gap between how people model and how the organization prints. Students use one application, engineers use another, and files reach printers in mixed formats, units, and orientations. Nobody owns the handoff. The sections below show how to close that gap, and how 3DPrinterOS connects model preparation to centralized print management.
3D printer modeling software is any application used to create, edit, repair, or prepare a digital model so a 3D printer can build it. The category spans design tools that produce geometry and preparation tools that make that geometry printable.
Quick answer: design tools build the shape. Preparation tools check, fix, orient, and position it for a specific printer. For teams, the wider workflow also needs controls over who can access, change, and submit models.
Modeling is the creative work: a designer builds a part in CAD, sculpts an organic shape, or edits a scanned object. Preparation is the production work: the model is checked for errors, scaled, oriented, and placed on a virtual build plate before slicing converts it into G-code.
One person often does both on one laptop. In a shared lab, they happen in different places, by different people. A student designs at home, a technician checks the file, and a queue decides which printer runs it. Every handoff is a chance for errors to slip through. That's why organizations judge 3D modeling software for 3D printing differently from individual users. Lab managers, IT administrators, and engineering leads ask:
Design applications handle creation and export. Shared review, access control, and queue management usually need another layer. In 3DPrinterOS, that layer runs in the cloud: users prepare models in a browser-based STL editor and slice them with organization-approved profiles. When you evaluate 3D printer modeling software for a team, evaluate the whole path, not just the design tool.
Modeling sits at the very start of the print workflow, and every later stage inherits its mistakes. A checked, correctly oriented model reduces preparation errors. A flawed one pushes problems downstream, where they cost more to fix. In a team environment, the path from idea to part usually runs through nine stages:
Design and export usually happen in the designer's own application. Stages three through nine need clear ownership, and 3DPrinterOS covers all of them in one cloud workspace. Magic Fix converts supported formats (3DS, 3MF, AMF, OBJ, and STL) to STL and provides analysis, repair, and rotation for the selected printer type. The STL Editor, also called Layout, handles orientation and placement, and its geometry analysis checks the first layer, support and infill needs, and mesh holes or intersections. Cloud slicing and the Toolpath Viewer complete the preparation.
The buying implication is clear: you don't need to replace the design tools your people already know. What changes is the handoff. Every file passes through the same controlled preparation layer, so checks happen in one place instead of on each laptop.
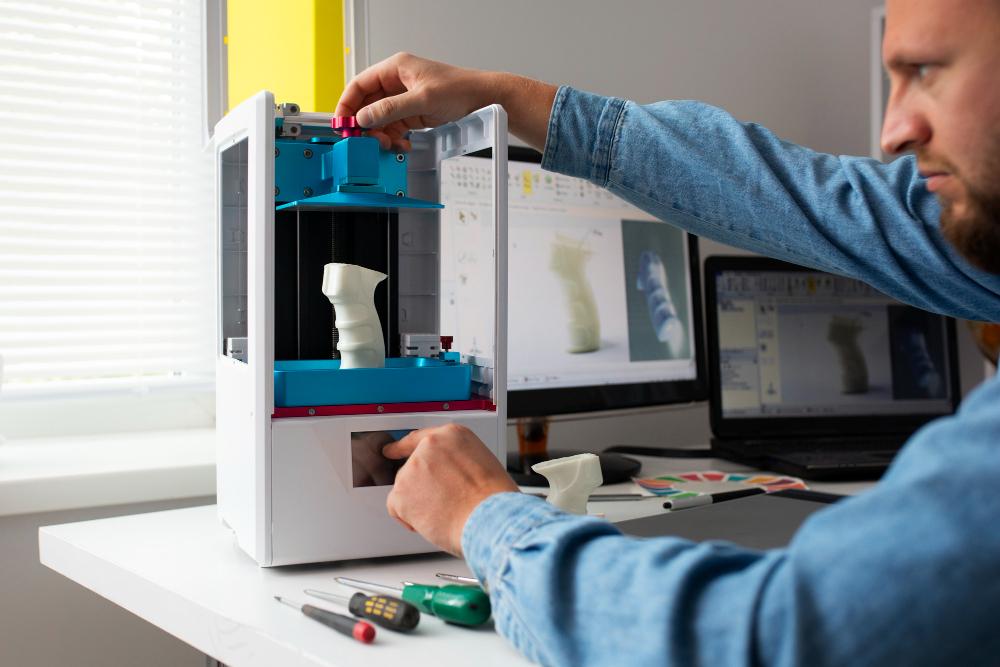
No single application suits every user. The best 3D modeling software for 3D printing depends on who designs, what they build, and how files reach the printer. Many organizations run several tool types side by side.
| Tool type | What it does | Ideal for | Watch for |
|---|---|---|---|
| Browser-based design tools | Simple shape building and editing in a web browser | K-12 classrooms, libraries, first-time users | Precision and feature depth vary by application |
| Parametric CAD | Builds solids from dimensions, constraints, and feature history | Engineering teams, functional parts, assemblies | Steep learning curve; export settings vary by user |
| Direct and mesh modeling | Pushes and pulls surfaces or edits triangle meshes freely | Organic shapes, art, quick concept models | Easy to create holes, thin walls, or overlapping surfaces |
| Scanning and reverse engineering | Converts scans of physical objects into editable models | Replacement parts, fixtures, product teardown | Raw scans often need heavy cleanup before printing |
| Print preparation and repair tools | Repairs meshes, orients, scales, and places models for a printer | Every team that shares printers | Only as consistent as the rules applied to them |
Two patterns stand out. First, design tools trade precision against freedom: browser-based tools suit beginners, parametric CAD suits functional parts, and mesh or scanning tools suit organic or captured shapes, though they can introduce geometry issues worth checking before slicing.
Second, and more important for operations, every model ends up in the same place. Whatever tool it came from, it still has to be checked, oriented, and placed on a build plate. Print preparation is the one category every shared lab needs, yet it's often left to individual habit. When choosing tools for a team, ask:
The answers usually point to a mixed approach: let people keep the design tools that suit their work, then route every file through one shared preparation layer the organization controls. For classroom-specific criteria, see features educators need in 3D printer modeling software.
Standardization sets shared file requirements so each department or campus doesn't develop its own habits. Standards don't need to be heavy. A short set of enforced rules beats a long document nobody reads. Focus on six areas:
Multi-site organizations feel this most. Without shared rules, one campus quietly adopts a local workaround, and two sites produce different parts from the same file. Admin-owned profiles limit those differences, and new users learn one workflow instead of several.
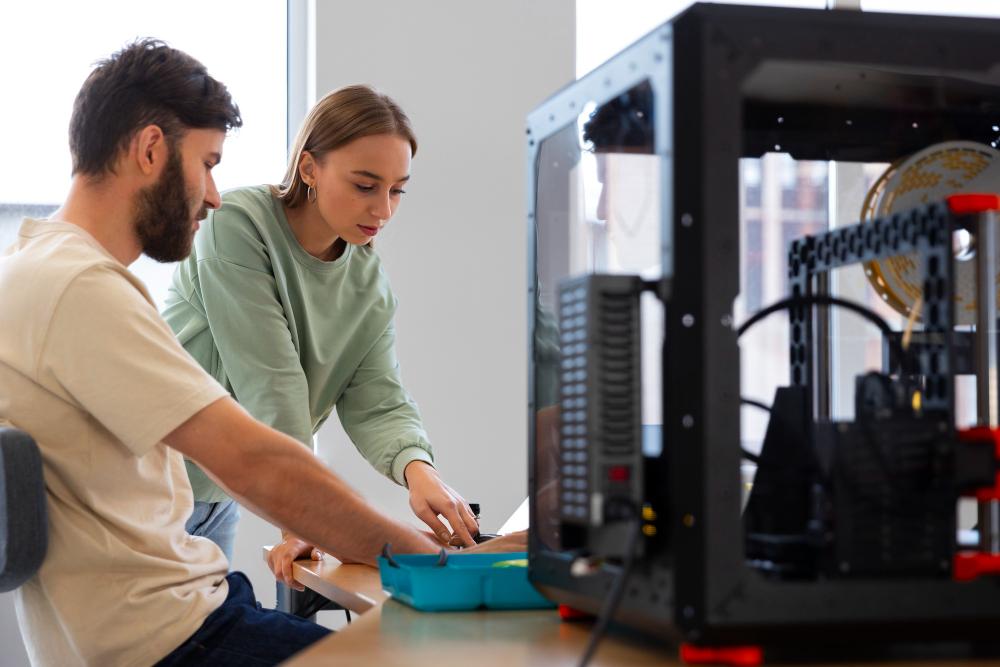
Shared printing works when three things are clear: who can use which printers, who decides what actually prints, and which file is the current one. Leave any of these vague, and queues fill with jobs nobody reviewed, printed from revisions nobody approved.
In 3DPrinterOS, admins create workgroups that combine a set of users with a set of printers, each with an access type, so permissions follow the group rather than being set user by user. A university might create one workgroup per course or lab, and an enterprise one per product team. When a semester ends or a project closes, the admin updates the group, not every printer. Single sign-on can also tie accounts to the organization's identity system. More on multi-user management.
Not every user should start a print the moment a file is ready. Two printer permissions create a natural review step:
Give students, visitors, or new staff Can Queue access, and instructors, technicians, or production leads Can Print access. Jobs then wait until a trusted person reviews and starts them.
Reviewers also need context. The 3DPrinterOS Q&A feature lets admins add a custom form that appears before a user submits a job, asking for details such as color, project name, payment source, or post-processing needs. Questions can differ by printer type and can be required. Note that reviewers need permission to view other users' Q&A answers; Can Print access alone doesn't provide it.
The Toolpath Viewer adds a final visual check. For supported FDM files, reviewers can inspect layers, supports, build-plate adhesion, and material and time estimates, plus cost for organizations using billing.
Version control prevents the most frustrating failure in shared labs: printing the wrong revision perfectly. In 3DPrinterOS, files live in a cloud workspace. When a user modifies and saves an STL model, the platform creates a new file and groups it with the original in a project, which works as a version history for that part.
Sharing is controlled too. Users can share files or projects with individuals, or with workgroups under an organizational license. Shared files cannot be downloaded, senders can limit how many times a shared file prints, and shared projects cannot be edited or reshared, which helps protect design IP. For how fast-moving teams apply this, see how robotics teams use model version control.
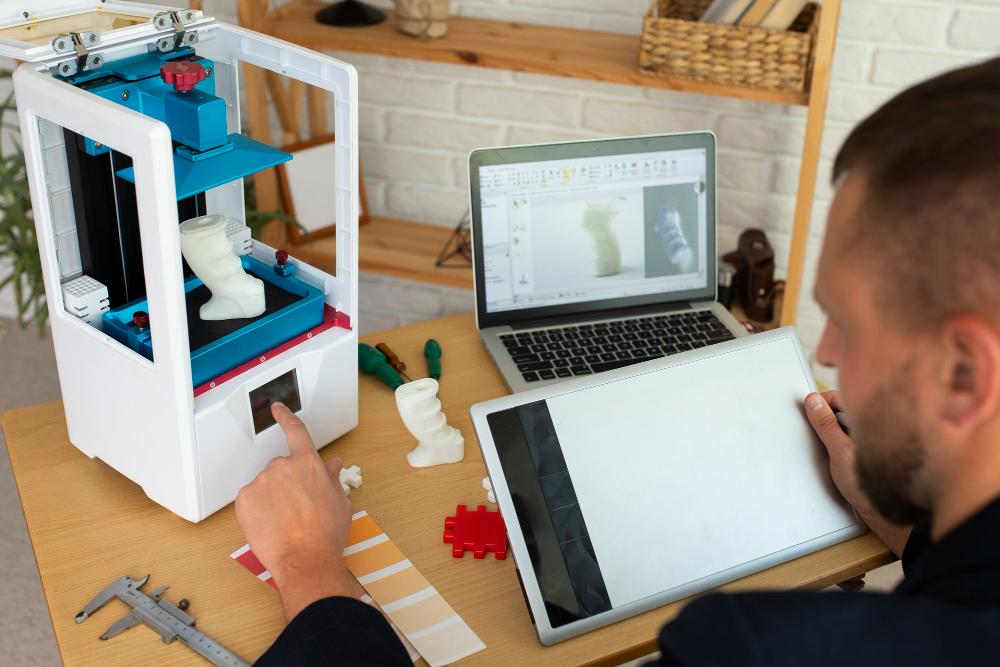
Many failed prints in shared labs trace back to a familiar set of mistakes made before slicing:
| Mistake | What happens | Fix |
|---|---|---|
| Exporting in the wrong units | Parts print at the wrong size | Set one unit standard and check scale during layout |
| Sending broken meshes | Missing walls or failed layers | Run uploads through Magic Fix or STL Editor analysis |
| Ignoring orientation | Parts snap along layer lines | Team orientation rules, with Optimal Rotate as a start |
| Designing beyond printer limits | Thin walls, sagging overhangs, oversize parts | Publish design limits per printer type |
| Overloading the build plate | One detached part ruins the whole plate | Plate rules for shared printers; review crowded layouts |
| Using personal slicing profiles | Quality varies and nobody knows why | Admin-owned profiles with editing restricted |
| Printing an outdated revision | A perfect print of the wrong part | Shared cloud workspace with project history |
| Submitting without context | Reviewer sees "final_v2" with no owner | Required Q&A form at submission |
| Skipping the preview | Missing supports found after failure | Routine Toolpath Viewer check, especially for long jobs |
Notice the pattern: few of these mistakes come from the design tool itself. They come from unowned gaps between design and printing. For K-12 schools and libraries, closing them protects limited staff time. For universities, it keeps busy labs moving at peak periods. For manufacturers, automotive teams, and OEMs, it protects material budgets and keeps part quality repeatable across shifts and sites. Go deeper with 6 model preparation mistakes that waste print time and what makes a 3D model ready to print.
Modeling software delivers its full value only when a finished model moves straight into slicing, queuing, and monitoring without a manual transfer. Every download, USB copy, or emailed file is a point where errors and lost revisions creep in.
Traditional setups split the work. Each user exports a file, slices it locally with their own settings, and carries the G-code to the printer. Staff can't see what's coming until it arrives. A connected workflow keeps the model inside one environment from upload to finished part. In 3DPrinterOS, that path looks like this:
The same connection works for classroom design tools. Through the TinkerCAD integration, students send designs to 3DPrinterOS directly from the browser, skipping the download-and-upload step while the job still lands in the organization's controlled workflow. And because 3DPrinterOS is hardware-agnostic, connecting printers through a cloud client that runs on Windows and single-board computers such as Raspberry Pi, mixed fleets can be managed in one place. Check the supported 3D printers list to confirm your models.
| Audience | Core modeling challenge | What a connected workflow changes |
|---|---|---|
| K-12 schools | Limited staff time and many first-time designers | Instructors review queued jobs before they start; students submit from the browser |
| Higher education | Many users across departments and buildings | Workgroups map to courses or labs; admin-owned profiles keep results consistent |
| Libraries | Walk-in and public users with mixed experience | Controlled access, submission forms, and remote job review |
| Enterprises | Distributed teams and design IP protection | Central file storage, controlled sharing, and standard profiles across sites |
| Manufacturing and automotive | Repeatable output across shifts and facilities | Shared profiles, fleet visibility, and failure detection |
| OEMs | Delivering a dependable software experience with their hardware | A customizable cloud platform with broad printer support |
Security runs through all of this. Files, profiles, and permissions live in one cloud environment, so IT manages access in one place, and recipients can't download shared files. Project history, slicing details, and job records give teams the record they need to review files and printing activity. Programs with stricter requirements can read how this applies to aerospace and defense work.
A repeatable path from design to print comes from the workflow around your design tools, not the tools alone. Teams that print well at scale let people model freely, then apply one set of rules to every file before it reaches a printer. If you're planning that path, work through it in order:
None of these steps asks designers to give up the software they know. Each one removes a handoff where errors used to hide. The result is fewer wasted prints, clearer accountability, and a lab or production floor that grows without growing chaos.
3DPrinterOS brings model preparation, cloud slicing, access control, and print management into one platform built for organizations with many users, with round-the-clock support for education, enterprise, and OEM teams.
Book a demo to see how 3DPrinterOS connects your team's modeling tools to one controlled print workflow.
No. Modeling software creates and prepares geometry, while a slicer converts that geometry into G-code for a specific printer. Team workflows need both, ideally connected in one place.
No. Designers can keep their preferred CAD or classroom tools. Standardization happens in the shared preparation, slicing, and submission layer.
Give most users queue-only access and give staff print access. Jobs then wait for a trusted reviewer, who can check the toolpath before starting the print.
Keep files in a shared cloud workspace instead of personal drives. In 3DPrinterOS, saving a modified STL groups it with the original in a project history.
Yes. Magic Fix converts supported model formats (3DS, 3MF, AMF, OBJ, and STL) to STL and provides analysis, repair, and rotation for the selected printer type.
There is rarely one answer. Most organizations let each group keep the design tool that suits its work, such as browser-based tools for beginners and parametric CAD for engineers, then route every file through one shared preparation and print management layer.

Used by higher education, enterprises, and OEMs to manage printers, files, and users from a single, cloud-based platform

Control access, users, and print permissions by team or lab
“This close collaboration has enabled Koenigsegg to tailor the platform to their specific needs, resulting in an optimized and user-friendly system for managing their 3D printers.”

Team Leader
Koenigsegg Automotive AB
Join us today and become one of our partners