Avoiding 3D Printing Fails in Your Makerspace: A Guide to Proper File Management and Project Planning
Any time a 3D printer fails, it causes frustration to both the student and the admin staff. Everyone wants their 3D printers to work just right every time, but 3D printing is notoriously finicky.
However, there are some things you can do to reduce the number of 3D print fails, and in this post we'll share five tips for reducing 3D print fails in your makerspace. By following these tips, you can help keep your printers running smoothly and minimize downtime for your users.
Store your filament spool correctly, and check it for any knots or tangles before starting to 3D print
3D printing can provide a lot of innovative and interesting applications, but to ensure the best results, it's essential to make sure you've taken care of the overlooked details first.
Before beginning any 3D printing project, be sure to visually check your filament spool for any knots or tangles that might disrupt the flow of the material.
When filament is allowed to go a little slack during storage, the loops criss-cross each other, creating a knot. This is more likely to happen if you store your spools on their side, as the loose links will fall over each other. Instead, try storing them upright on a bar through the center. Use a filament clip to keep the end secure to the edge of the roll, and the filament taut.
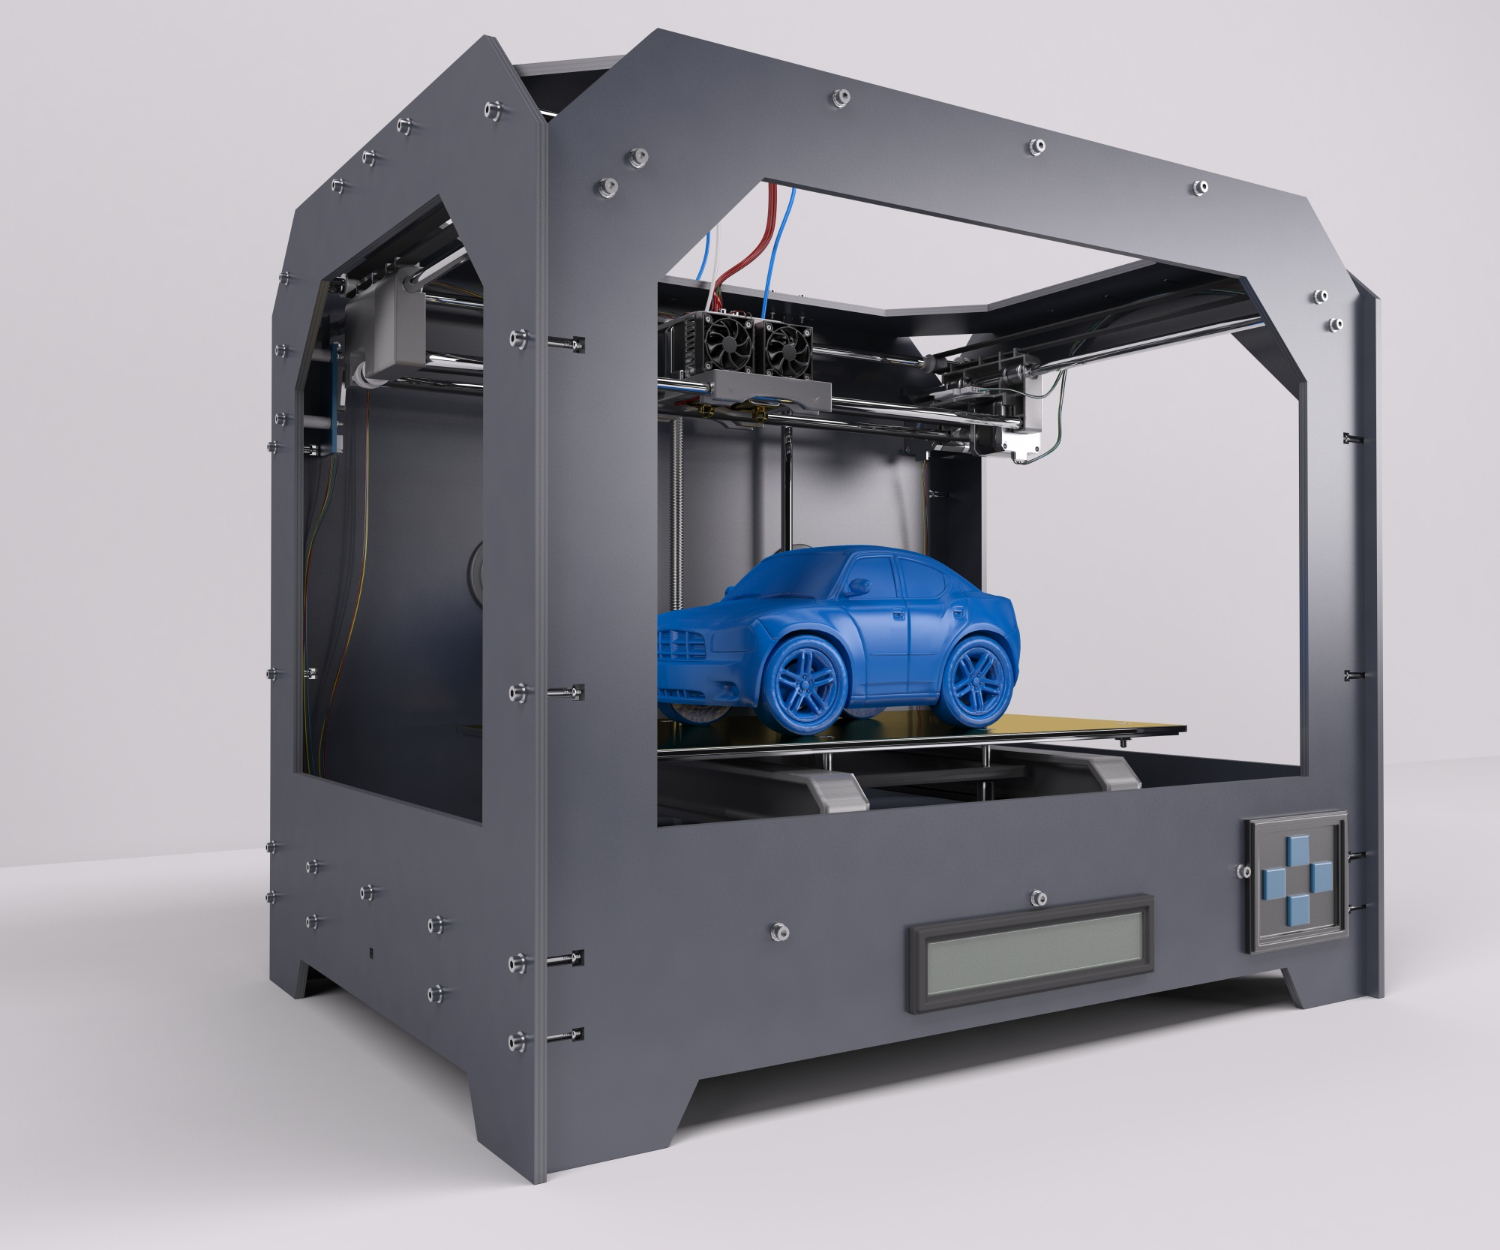
Mastering the 3D Printing Process: Tips and Techniques for Consistently High-Quality Prints
Make sure the 3D printer bed is clear and ready for use
It's essential to properly prepare your 3D printer bed before starting any print job. By making sure the bed is cleared of all completed prints, you're taking the necessary steps to ensure that your next print is successful.
You can set 3DPrinterOS up to require a reset on the actual 3D printer. This means that when a 3D print is complete, you need to remove the project from the build plate before that particular 3D printer will show as ‘available’ within your 3DPrinterOS platform.
Not only will this reduce the potential for failed prints, but it also allows you to plan more effectively when executing large scale or cohesive pieces. With a clear 3D printer bed, the start of any new project will be easy and efficient.
Use adequate support when 3D printing objects with overhangs to prevent them from collapsing
3D printing complex objects can initially be a daunting task, as you learn how to ensure that your build will not collapse. The solution to this problem is to include supports where necessary when 3D printing.
Supports are structures which are printed with the main object and can provide better stability during the process. Kitchen gadgets, plant pots, miniature sculptures and figurines all often require supports to prevent them from becoming distorted or falling apart upon removal from the printer bed.
3DPrinterOS has an automated feature for adding these necessary supports to your designs before they are sent to print, and you can preview what your finished product will look like with or without the supports.
Choose the right infill setting - too much infill can make a 3D print take too long, while too little can cause it to fail
Choosing the right infill setting for a 3D print is critical to achieving a successful result. Too little infill and the structure could be weak and liable to fail, but too much can add unnecessary weight and dramatically increase the printing time.
3DPrinterOS makes it easy to find recommendations for suitable infill settings for different applications. You’ll also find details on the 3DPrinterOS platform about the amount of filament your print will use, and an estimate of how long it will take to complete.
Slow down the 3D print speed if you're having trouble with failed prints
If you're having difficulty with failed prints when using a 3D printer, one tip to get better results is to slow down the print speed. This allows the 3D printer to lay the filament down more precisely and achieve your desired form factor.
For more homogenous parts and sharper details, try slowing the print speed by 10% to 20%. With toolpath visualization and manipulation in the 3DPrinterOS platform, you can also slow down individual sections of a specific print job where there may be greater complexity and finer details desired. In this way, you can make sure that each part of the print job is finished with optimal accuracy and precision.
With these tips in mind, you should be able to avoid some of the most common 3D printing mistakes.
Before starting your next print, take a few minutes to check the filament spool and make sure the printer is level. And if you're printing a complex object, don't forget to use supports! Pay attention to the infill setting - too much or too little can both cause problems. And finally, if you find that you're still having trouble with failed prints, try slowing down the print speed.
By following these simple tips, you'll be well on your way to successful 3D printing.