3D Printer Cloud Set-Up: How to Connect Your 3D Printer Using 3DPrinterOS for Cloud-Based 3D Printing
Introduction to 3D Printer Cloud Setup
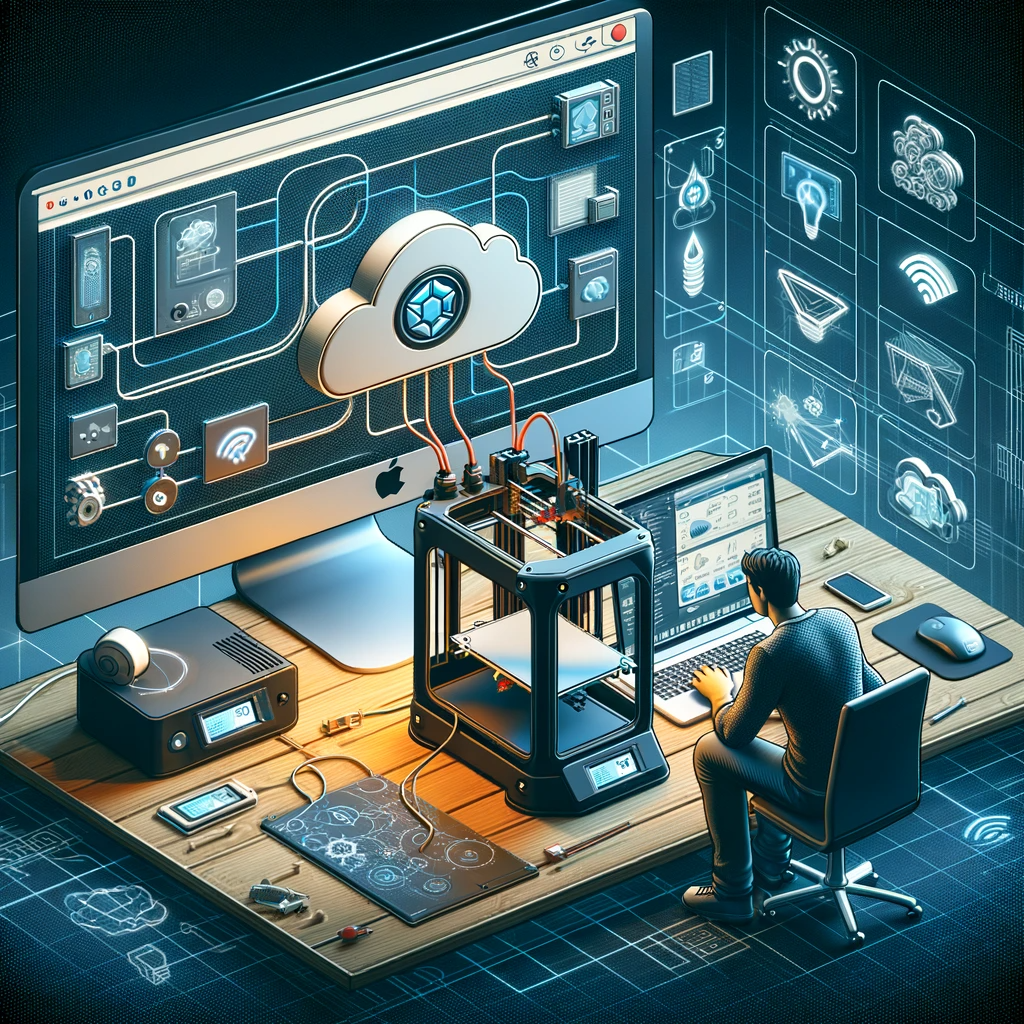
Connecting your 3D printer to 3DPrinterOS can significantly enhance your 3D printing experience. Whether you're looking to manage your 3D print online, handle multiple 3D printer files, or simply streamline your printing process, 3DPrinterOS offers a user-friendly solution. This guide will walk you through the simple steps to get your 3D printer connected and ready to print.
Step 1: Adding Your 3D Printer
Starting with the Printers Page
Begin by navigating to the Printers page on your 3DPrinterOS interface. Here, you will find the option to 'Add Printer.' This is your first step towards integrating your printer with the cloud.
Selecting Your Printer Model
Once you click on 'Add Printer,' a list of 3D printer models will appear. Select your 3D printer's model from this list. The platform supports a wide range of printers, ensuring compatibility and ease of setup.
Step 2: Multiple 3D Printers and Connection
Adding Multiple Printers
3DPrinterOS allows you to add multiple 3D printers simultaneously. After selecting your printers, click 'Add Printers.' You'll then see a 'Waiting for connection' list, indicating that your printers are being connected to the system.
Choosing Your Connection Method
There are several methods to connect your 3D printer to 3DPrinterOS:
3DPrinterOS Client: A separate client software is available for different operating systems, including Windows, Ubuntu, and potentially Mac OS (though compatibility may vary with the latest versions).
Native Integration: For certain models like Dremel 3D40 and 3D45, Kodak Portrait, and others, native integration is available by simply entering an access code from the printer's screen.
Step 3: Installing the 3DPrinterOS Client
On Different Operating Systems
The 3DPrinterOS Client is a crucial component for connecting your printer. It's available for installation on various systems, including Raspberry Pi, Windows, Ubuntu, and Mac OS (with certain limitations).
For Custom Setups
If you're using a Mac or custom hardware with a unique OS, a ZIP archive of the 3DPrinterOS Client is also available for more tailored installations.
Step 4: Finalizing the Connection
Printer Status Confirmation
Once you've successfully connected your printer to 3DPrinterOS, it will appear on the Printers page with an 'Idle' status. This indicates that your printer is now ready to receive and process 3D printer files and STL files for your upcoming projects.
Conclusion
Connecting your 3D printer to 3DPrinterOS is a straightforward process that opens up a world of efficient and effective online 3D printing. With these simple steps, you can manage your 3D printer files with ease and start printing your designs in no time.